This weblog at mikeuhl.com is the personal web site of Michael "Mike" Uhl. Entries to this weblog and web site represent my personal opinions. The site is not owned, operated, or affiliated with my employer or any organizations other than those owned and operated by Mike Uhl.
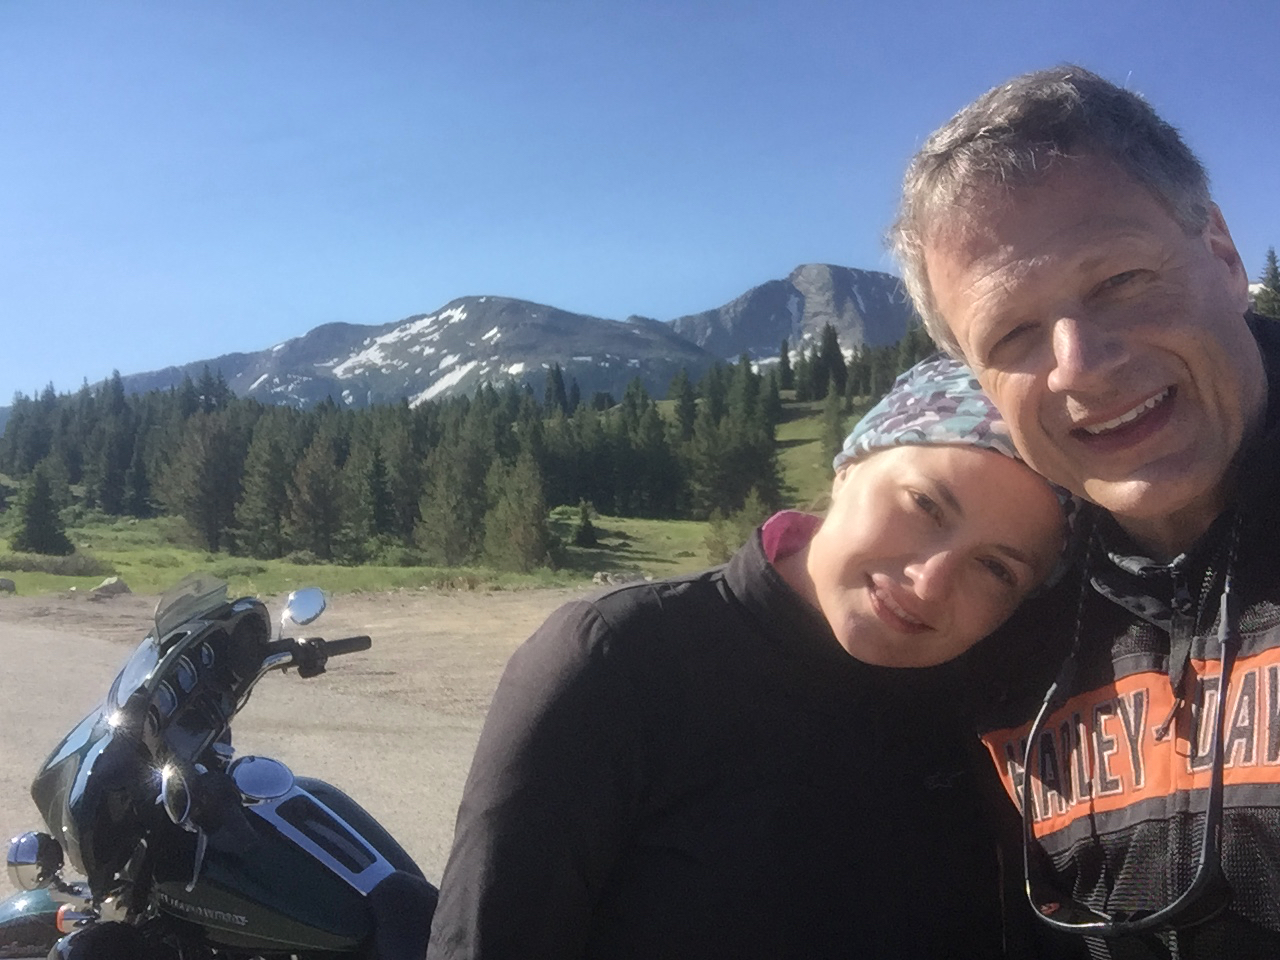
Photo (right): That's Lisa and me stopped along US 550, "The Million Dollar Highway," in southwest Colorado on our way north into Silverton, July 2017.
Entries are copyright (c) Michael A. Uhl, as of date of posting.
You are welcome and encouraged to participate in the discussion on this site. Comments are owned by the poster. I reserve the right to remove any irrelevant, inflammatory, or otherwise inappropriate comments. Questions may be directed to me using the "Post a Comment" feature available on every blog page.
FYI: I ride a 2015 Harley-Davidson FLHTK Ultra Limited Special Edition.
(June 9, 2015) After I had a pair of leather chaps blow off my bike on I-83 in York, PA back in 2006, I purchased a nicer, heavier pair that I have been more careful with when it comes to stowing them on my bike.
Unfortunately, as nice as these new chaps look and how sturdily made, the leg openings are just wide enough to allow wind underneath them at highway speeds. The wind whips the legs back and forth enough to pop the snaps loose, and soon the zippers are working their way up my legs. As a result, I have often been reluctant to wear them when I should.
I added a snap on each leg that made the opening a bit smaller, but it wasn't enough. For a while, I used short black bungee cords to secure them around my ankles. And then one day it occurred to me that bicycle riders sometimes use a strap around their ankle on the chain side to keep their pants out of the way of the chain. Sure enough, I found on Amazon.com just what I was looking for.
Click on the accompanying photos to see a very functional pair of ankle straps that look good and work great. In the day-time, I face the black side out; and at night, I turn them over so the reflectorized material faces out. At just $12 for the pair, these were a great investment. They also keep my legs much warmer in the cooler weather by preventing the wind from getting under my pant legs.
Even if your chaps don't come undone in the wind like mine, give these a try anyway, especially in cooler weather and see if you don't agree that they're a great investment.
(June 8, 2015) I finally made the investment in LED lights for the back of my bike. Even though I already had some low-cost LEDs in the turn signals and auxiliary tail lights, I also upgraded those to products from Custom Dynamics. The new lights draw less power load and offer much brighter luminosity for increased safety. I also recently purchased a new chrome “timer cover” (P/N 32047-99A) and was surprised by how a such a small part can make such a big improvement to the appearance of my bike.
Back in 2009 when I purchased this 2006 FLHTCI Electra Glide Classic from my friend Mitch, the Tour-Pak was detachable and had no lights. There were only four lights on the back of the bike: (1) tail light/brake; (2/3) turn signals; and (4) fender light. Even though I very much liked the way the bike looked with the Tour-Pak off, I also learned that I used that big piece of luggage most of the time. Hence, I soon added the side lights and then the rear lights. Adding those corner/rear lights was a real adventure as I had to cut holes in the fiberglass with a hacksaw. That was scary! And when the mounting bracket began to wear out, I switched to a sturdier all-the-time mount.
LED Lights & Tour-Pak turn signals
Now, I have ten lights on the back of my bike, nine of those LEDs, with the small fender light being the last incandescent bulb: four in the Tour-Pak, two auxiliary tail lights, the two turn signals, and the tail/brake light. I want to be seen when I ride, especially at dusk, when visibility tends to be at it worst. These LEDs certainly do the job.
Kevin at Jockeys Cycle used to work at Custom Dynamics and has a real talent for wiring these lights into the bike. I’ve learned from experience that the quality of LEDs varies widely and I can assure you that the Custom Dynamics products are among the brightest and come with warranty coverage. Check out the videos I’ve included at the end of this article to see how bright these new lights are.
Of course, they aren’t cheap. Here’s a rough-order price summary: (1) Tour-Pak kit ($140) with run-turn-brake module ($46) and signal stabliizer ($60); (2) run/brake tail light ($160); (3) auxiliary run/tail lights ($40); plus labor ($150+). That’s about $600 total. You can definitely pay more.
Chrome looks better than aluminum
Aluminum tarnishes and pits easily. It’s soft metal. My stock “Timer Cover” (click on the photo at right to see what I referring to) looked really shabby after a 110,000 miles. So, for about $30, I purchased a new chrome Timer Cover Kit, which comes with chrome fasteners, and the bike’s appearance improved far beyond my expectations. I was surprised how such a small part can make such a big difference in the look.
On the other hand, I have dispensed with the chrome cover on my voltage regulator. I read more than one post on Harley-Davidson forums that the chrome cover interferes with the cooling of the voltage regulator and I buy that argument. I just installed a new regulator last year and it cost me more than $300. I can live without the chrome cover if it extends the life of this vital and relatively expensive part.
(June 6, 2015) Well, we finally found the source of the oil leak—or at least the largest among multiple sources—from my primary chain case: it resulted from a crack in the mainshaft bearing inner race and a worn mainshaft seal. The illustration at right, taken from the 2006 Service Manual (HD part number 99483-06), gives you an idea where this inner race is located.
After two previous attempts at stopping the leak, I found mention of the mainshaft bearing inner race on an HDForums.com discussion. I texted this information to Kevin at Jockeys Cycle and to his credit, he listened—unlike the dealer technicians with whom I have worked in the past. He and his team did, in fact, find the inner race to be a problem. I do enjoy working with competent people!
By the way, another possible, less-than-obvious source for an oil leak mentioned in the HDForums.com discussion is the "seal on the trans where the shifter shaft enters.” Keep this in mind if you’re troubleshooting an oil leak.
In a rolling bearing system, there is an inner and an outer race, as shown in the accompanying image. On my bike, the inner race split and no longer fit snugly in the mainshaft seal (or main drive gear seal). (See photos below to see what these two parts look like.) Kevin replaced both parts and my oil leak is now under control, if not completely eliminated.
I have developed the habit of looking under my bike to check for oil. Let’s see how long it will be before I stop. On the other hand, I have also developed the habit of checking my front motor mount bolts every time I ride. Ugh!
(May 31, 2015) I’ve been very limited in my riding since early May due to a bulging disk in the lumbar (lower) region of my spine. The problem started last summer when I rode 7,400 miles in 13 days, from Cary, North Carolina to Banff, British Columbia and back. However, I suspect it was more than merely the number of miles in such a short time that injured my spine.
Somewhere just short of the 100,000-mile mark, my original front motor mount failed (rubber pad disintegrated) and the upper mounting bolts fell out, or that order reversed. The resulting vibration to the frame likely exacerbated the stress to my spine. In August last year, Kevin at Jockeys Cycle replaced that original front motor mount with a similar product from Drag Specialties (DS-243515), which developed cracks in less than a year.
Excess vibration from the engine to the frame has been a very serious problem, and not just because it's hammered my spine: I’ve had my upper front motor mount bolts fall out multiple times in one year, even though they were torqued down properly with copious amounts of thread locker applied. Over the last year, I've had many other fasteners come loose with some falling out completely.
To be fair to Harley-Davidson and Drag Specialties here, I will add that I’ve installed S&S heads on my bike with a Vance & Hines two-into-one exhaust system. The heads in particular may have significantly altered the vibration patterns of the engine, thus leading to accelerated failure of the motor mount and bolts. However, even if this is the case, it’s an indictment on the quality of the Drag Specialty motor mount in particular that it should deteriorate so quickly.
Here’s my logic: (1) the rubber dampening pad in the old motor mount cracked so badly that it no longer provided the vibrational damping for which it was designed between the engine and frame; (2) a resonant frequency was achieved — at least at intervals — between the engine and the upper motor mount bolts (see two photos), which caused the nuts to either vibrate all the way off and the bolts to fall out, or the bolts to shear apart and fall out; and (3) the loss of the upper motor mount bolts then permitted excessive vibration to transfer from the engine to the frame and my spine over thousands of miles last year.
Aluminum versus Steel
The Harley-Davidson specification for these upper mounting bolts calls for a 3/8” diameter, inserted from the bottom up with the nuts fastened topside. The holes in the engine block are smooth, unthreaded. When my friend Mike Russo and I inspected the remaining temporary bolt Kevin had inserted, we found that it was a loose fit. I managed to twist in a 7/16” instead. On further reflection however, we concluded that just because we could fit a 7/16” didn’t mean we should, even though I am desperate to get a snug fit to avoid losing anymore of these fasteners.
What we figured, and many of our colleagues agree with this assessment, is that the bolts must have some play in the fitment because they are steel in an aluminum block. These metals have very different coefficients of thermal expansion, and when they cool, the aluminum cools faster, and thus contracts faster than the steel. If the steel bolts fit tightly at room temperature, then they will be too large when hot in a rapidly cooling aluminum engine block. They could thus crack the block.
The problem is, of course, a loose fit for these bolts—which will be that way at least until the engine gets hot—invites excess lateral vibration (shear) across the diameter of these bolts. I suspect that rather than the nuts coming loose and the bolt(s) falling out, the heads of the bolds sheared off and the rest of the fastener simply fell out. In the photo at right, you can see the new, correct, Harley-Davidson bolts inserted bottom-to-top. However, two of the three bolts that went missing since last July were the ones mounted underneath the oil filter, and they were inserted top-to-bottom. The bolts in that position fit so tightly under the oil filter, it’s hard to imagine how they could have come out; there’s simply not enough space between the bolt head and the oil filter.
Regardless, we have learned to keep an eye on these motor mount bolts. I also learned that it’s no big deal to remove the oil filter—especially the K&N filter with the hex nut welded on the end—and reuse it in order to get at the right-side motor mount bolt. Just be sure to put an oil pan underneath first and add a little bit of oil at the end of the job. The voltage regulator comes off easily enough as well, especially if you don't have to remove a chrome cover first. (Until we had all of this resolved, I left off the chrome voltage regulator cover.)
Glide Pro Motor Mount
In order to address the root cause of this vibration problem—as I see it—I purchased a Glide Pro front motor mount for my bike. It cost me a $100+, which I’ll admit seems excessive for such a simple thing as a motor mount. However, given my experience over the last year, motor mounts don’t seem so simple to me anymore.
As you can see in the accompanying photos, the Drag Specialties motor mount I bought new and installed just last July had already developed significant cracks, top and bottom, in the rubber damping pad. Were these cracks caused by excessive vibration?
Glide Pro uses an entirely different material and a different design for its motor mount. I have already noticed a huge reduction in vibration in the footboards at most RPMs, especially in the range (2,800 - 3,000 rpm) I achieve when riding on the highway at 70+ mph. Kevin also said he noticed a significant reduction in vibration when he took the bike for a test ride. (We finally found the source of the oil leak and he and the guys at Jockeys successfully repaired it…a topic for another blog post.) As always, your mileage may vary.
(March 22, 2015) The Raleigh Chapter of the Harley Owners Group (Raleigh HOG) had the opportunity to support the Masonic Home for Children in Oxford, NC yesterday. In spite of the cool, damp weather we had approximately 100 motorcycles show for this event. I cannot imagine anything more rewarding than helping children in need. I think it’s safe to say that all of us who were there felt our time and money were well invested.
I met my good friend and fellow Harley rider, Mike Russo, at his house just before 8:00 a.m. We left right away and stopped at Bojangle’s for a cup of coffee. We then took city streets through Cary and Raleigh to Arvin Inc. on Fayetteville Road in Raleigh. Mike needed a new gasket for the fuel connector on a generator. These kinds of errands are so much more fun on the bikes, even when it’s misty and 45°F.
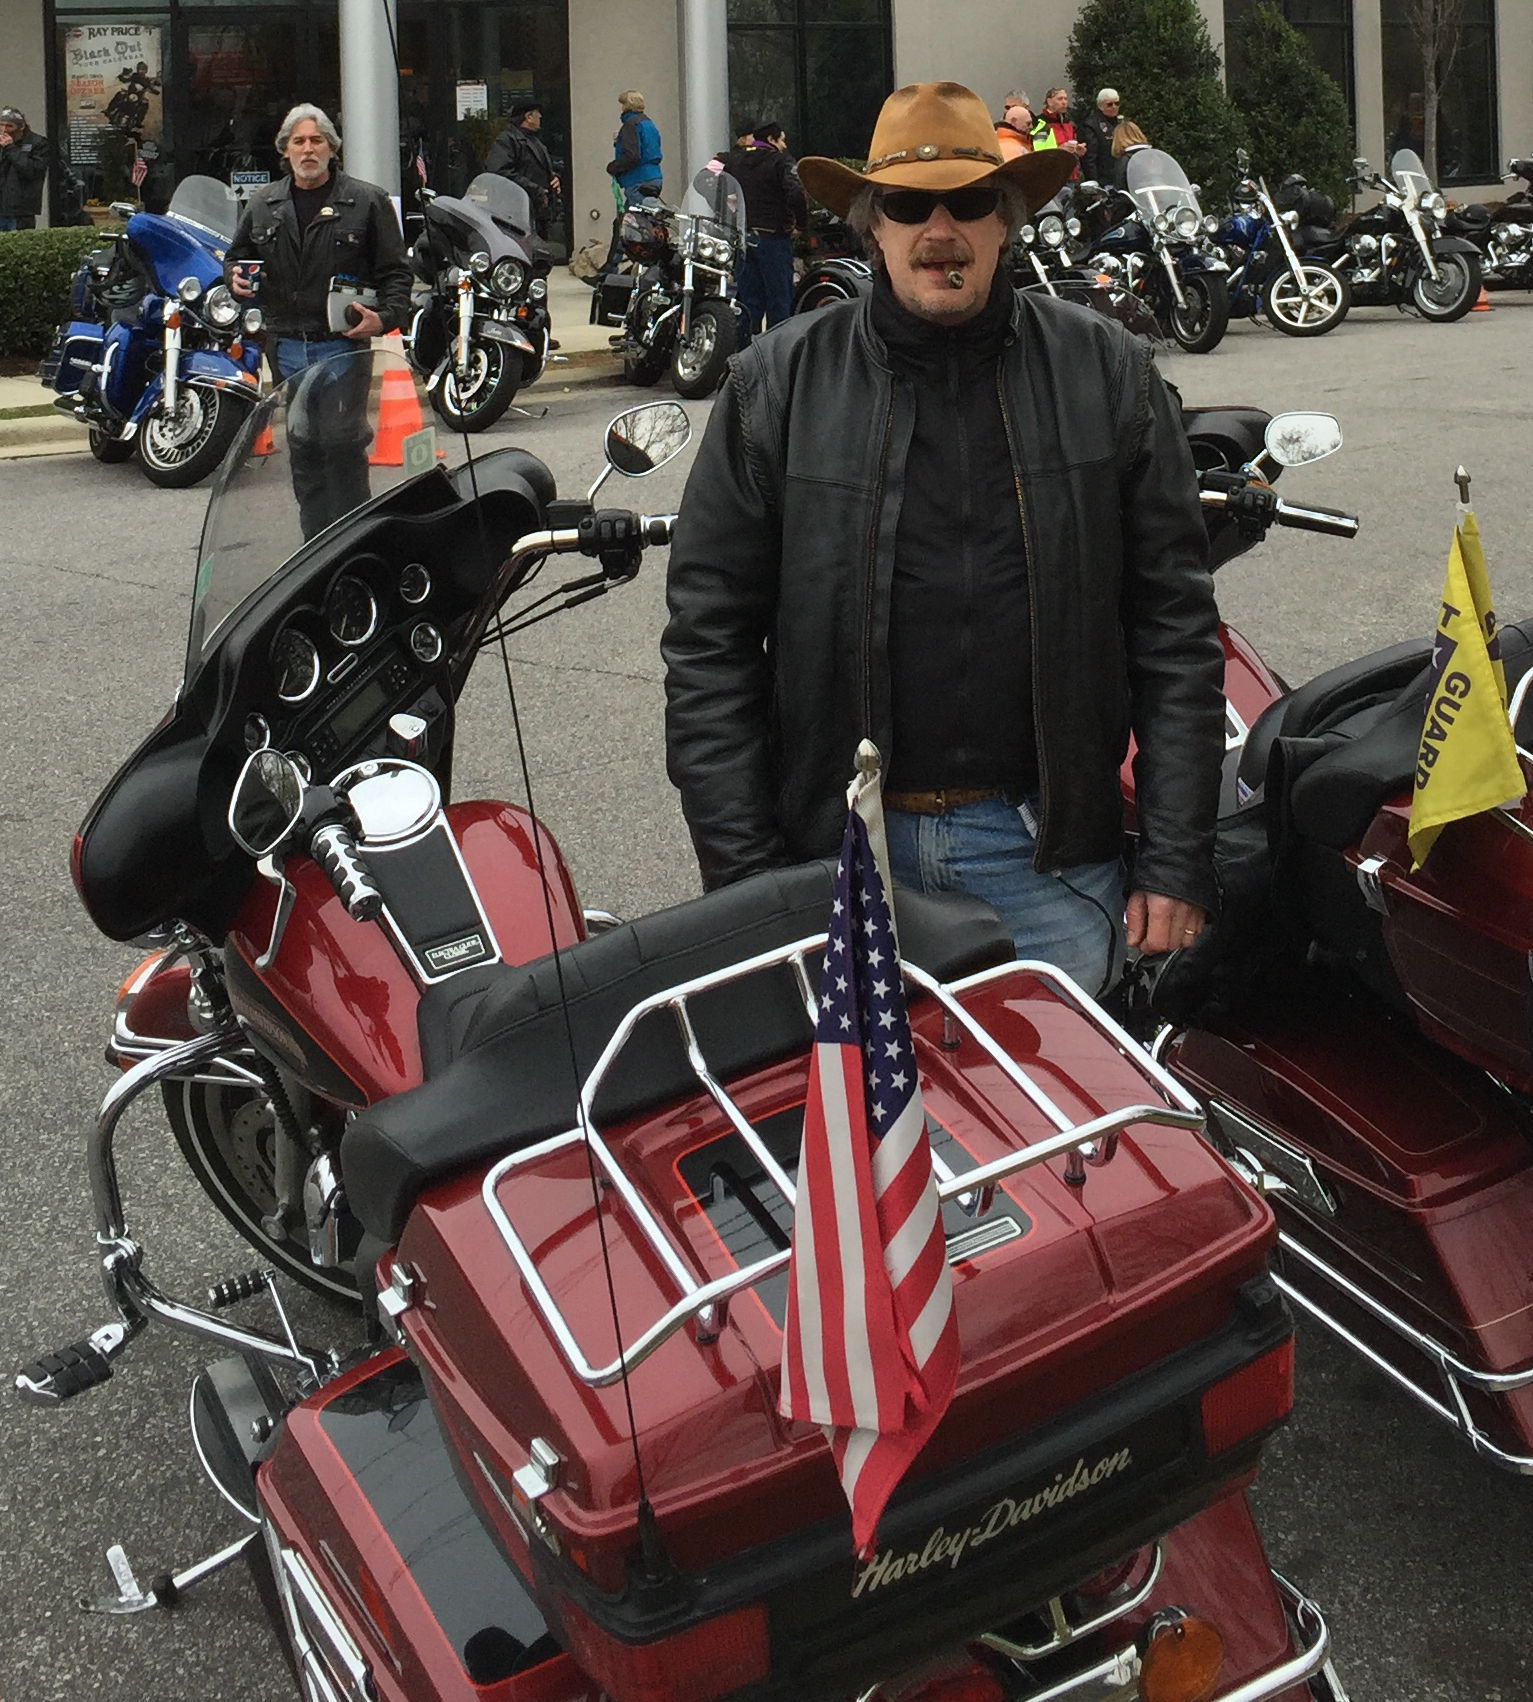
In spite of these two stops, we still made if to Ray Price Harley-Davidson by 9:05. Registration started at nine and the ride didn’t actually leave until around 10:30. Usually, I am impatient and become irritated when I have to stand around waiting for so long, but the cool temperature, good company, and a tasty cigar made the wait almost enjoyable.
The ride started off a bit chaotically as a rider ahead of Mike Russo and me apparently stalled his bike as we were pulling away from the dealership. That caused the group to be split into two even before we managed to get onto South Saunders Street.
Then we got on Interstate 40/440 and that proved to be a bit of a free-for-all as we worked our way through traffic. Once we got onto US 64/264 and then onto I-540, our part of the group managed to reassemble. A police escort for this initial part of the route would have been much appreciated.
As we rode north on NC 50 into Creedmor, NC, the clouds began to dissipate and we enjoyed sunshine. By the time we reached Oxford, the temperature was in the upper 50s with abundant sunshine. After a group photo on the front steps of the main building, we enjoyed an exceptionally good barbecue lunch.
Biker Dogs
Unusual for this ride, we had three dogs along with us. Butch and Chewy are regulars, but Patriot Guard Riders member Tim had his little buddy Snoopy along, and Raleigh HOG member Mark DaPonte had his canine companion on the back of his Tri Glide.
First photo (upper left): That’s Butch with Mike Russo. Butch is watching his doggie Chewy, who is at the other end of that leash. Second photo (above): That’s Raleigh HOG Raffle Chairman Steve Roma giving water to Chewy. Third photo (left): That’s Tim having fun with his little riding companion, Snoopy, or Snoop, for short.
While the plan for the ride was for a return to the dealership in Raleigh, Mike, Tim, and I left a little early and headed back on our own. This was the kind of experience that reminds me why I am a HOG member.
Keep the shiny side up!
-The Long Rider
P.S. I rolled over 108,000 miles on the odometer on this ride.
 (June 9, 2015) After I had a pair of leather chaps blow off my bike on I-83 in York, PA back in 2006, I purchased a nicer, heavier pair that I have been more careful with when it comes to stowing them on my bike.
 I added a snap on each leg that made the opening a bit smaller, but it wasn't enough. For a while, I used short black bungee cords to secure them around my ankles. And then one day it occurred to me that bicycle riders sometimes use a strap around their ankle on the chain side to keep their pants out of the way of the chain. Sure enough, I found on Amazon.com just what I was looking for.
 Michael A. Uhl


